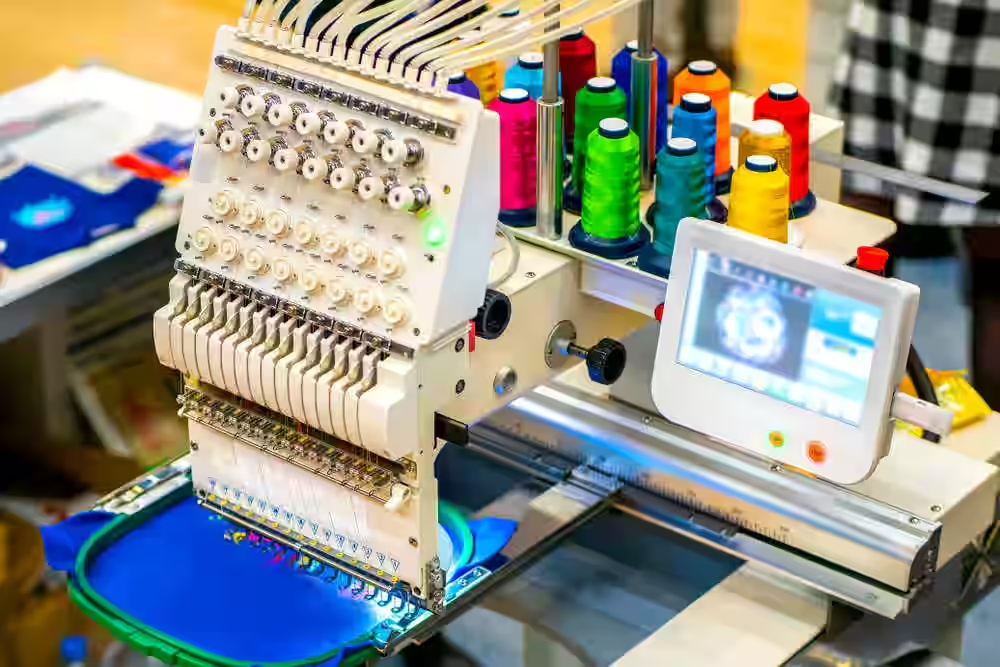
Embroidery is a timeless craft that combines artistry and technology. Whether you’re creating personalized gifts, designing custom apparel, or building a business around branded merchandise, the ability to convert image to embroidery file is a game-changer. But how do you go from a simple image to a stitch-ready embroidery file? In this guide, we’ll walk you through the process step-by-step, explore the best tools and techniques, and share tips to help you achieve professional-quality results.
What is an Embroidery File?
An embroidery file is a digital format that contains instructions for an embroidery machine. It tells the machine where to place stitches, what colors to use, and the sequence of operations. Common embroidery file formats include DST, PES, JEF, and EXP. Converting an image into one of these formats requires a process called digitizing, which transforms the image into a series of stitches.
Why Convert Image to Embroidery File?
Converting images to embroidery files opens up a world of creative possibilities. Here’s why it’s worth learning:
- Personalization: Turn photos or artwork into unique embroidered pieces.
- Professional Quality: Achieve clean, precise designs that look polished and professional.
- Versatility: Create designs for apparel, home décor, accessories, and more.
- Efficiency: Save time by automating the conversion process.
Step-by-Step Guide to Converting Images to Embroidery Files
Let’s break down the process of converting an image to an embroidery file into simple, actionable steps.
Step 1: Choose the Right Image
Not all images are suitable for embroidery. Here’s what to look for:
- High Resolution: Clear, high-quality images yield better results.
- Simple Designs: Avoid overly complex images with too many details.
- Contrast: Images with clear contrasts between colors and shapes work best.
Step 2: Select the Right Software
To convert an image to an embroidery file, you’ll need digitizing software. Here are some popular options:
- Ink/Stitch: A free, open-source extension for Inkscape.
- Embird: A comprehensive software suite with advanced features.
- Hatch Embroidery: A premium option for professionals.
- SewArt: An affordable auto-digitizing tool for beginners.
Step 3: Import the Image
Once you’ve chosen your software, import the image into the program. Most software allows you to drag and drop the image or use an import function.
Step 4: Digitize the Image
Digitizing is the process of converting the image into stitches. Here’s how to do it:
- Trace the Design: Use the software’s tools to trace the outlines of the image.
- Assign Stitch Types: Choose stitch types (e.g., satin, fill, or running stitches) for different parts of the design.
- Set Stitch Direction: Adjust the direction of stitches to match the contours of the design.
- Add Underlay Stitches: Underlay stitches provide a foundation for the design and improve stability.
Step 5: Adjust Settings
Fine-tune the design by adjusting settings like stitch density, length, and color. This step ensures the design stitches out perfectly on your chosen fabric.
Step 6: Test the Design
Before stitching the final product, test the design on a scrap piece of fabric. This allows you to identify and fix any issues, such as thread breaks or misaligned stitches.
Step 7: Save and Export
Once you’re satisfied with the design, save it in the appropriate embroidery file format (e.g., DST, PES, or JEF). Make sure the format is compatible with your embroidery machine.
Tips for Converting Images to Embroidery Files
To achieve the best results, keep these tips in mind:
- Start Simple: Begin with basic designs to build your skills.
- Use High-Quality Images: Clear, high-resolution images produce better results.
- Experiment with Settings: Adjust stitch density, length, and direction to see how they affect the design.
- Test on Scrap Fabric: Always test your design before stitching the final product.
- Learn from Tutorials: Many software programs offer tutorials to help you master the process.
Common Challenges and How to Overcome Them
Converting images to embroidery files can be tricky, especially for beginners. Here are some common challenges and how to tackle them:
- Complex Designs: Simplify the design by removing unnecessary details or breaking it into smaller sections.
- Thread Breaks: Adjust stitch density or use a higher-quality thread.
- Misaligned Stitches: Check the design for gaps or overlaps and adjust the stitch settings.
- Fabric Distortion: Use stabilizers to prevent the fabric from puckering or stretching.
Best Tools for Converting Images to Embroidery Files
Here’s a closer look at some of the best tools for converting images to embroidery files:
1. Ink/Stitch
Ink/Stitch is a free, open-source extension for Inkscape. It’s a great option for beginners and hobbyists.
Key Features:
- Works seamlessly with Inkscape.
- Supports multiple file formats, including DST and PES.
- Offers basic digitizing tools like stitch types and fill patterns.
2. Embird
Embird is a comprehensive software suite that includes a powerful digitizing tool.
Key Features:
- Supports a wide range of file formats.
- Advanced editing tools for customizing designs.
- User-friendly interface suitable for beginners and experts.
3. Hatch Embroidery
Hatch Embroidery is a premium option for professionals.
Key Features:
- Converts images to embroidery files with precision.
- Includes advanced design editing and customization tools.
- Compatible with Windows and Mac.
4. SewArt
SewArt is an affordable auto-digitizing tool for beginners.
Key Features:
- Automatically converts images into embroidery designs.
- Simple and intuitive interface.
- Supports popular file formats like DST and PES.
Unlock Your Creative Potential
Converting images to embroidery files is a skill that opens up endless creative possibilities. Whether you’re designing custom apparel, creating personalized gifts, or building a business, mastering this process allows you to bring your ideas to life with precision and professionalism. One particularly useful skill is learning how to Convert JPG Image to VP3, a format compatible with many embroidery machines. By following the steps and tips outlined in this guide, you can transform any image into a stunning embroidered design. So, why wait? Start converting, designing, and stitching today!


